Notes
Some random notes about several topics
This project is maintained by jgbarah
Installing and managing Freedom Box
I had a spare Raspberry Pi 3 Model B, and I decided to give it a try with the software produced by the FreedomBox project. I want to check to which extent it could be used for hosting services that most people use “from the cloud”.
My complete environment is:
- Home network, with a simple WiFi and Ethernet capable router. I connect my Raspberry Pi to it, via Ethernet.
- Raspberry Pi Model B, for running FreedomBox.
- Debian box, for preparing stuff, and initial connection to the FreedomBox. It runs Debian/testing.
Installation
Once nice thing about Raspberry Pi is that it boots from a SD card. All you need to do to test a new system is to produce an new SD card that boots it, and insert it in the device. Once I found out which image I had to use for producing a boot Raspberry Pi SD card, the process was absurdly easy.
Raspberry Pi 3 is not a device supported by FreedomBox stable, apparently because it needs some proprietary software for booting (at least when using Ethernet). But you can find an entry about it in the FreedomBox wiki. In that entry, you can find out that bootable images for this device are available only for the testing distribution downloads (and not for the stable one). The image I used was freedombox-testing-nonfree_latest_raspberry3-armhf.img.xz.
For producing the SD card, I followed the instructions in Downloading images, running the checks on the integrity and signatures of the files and all that. Then, I uncompressed the downloaded image, and copied it to the SD card. My card is a 16 GB one, but I guess a 4 GB one would be enough. In my Debian box, I run:
$ xz -d freedombox-testing-nonfree_latest_raspberry3-armhf.img.xz
$ sudo dd bs=1M if=freedombox-testing-nonfree_latest_raspberry3-armhf.img of=/dev/mmcblk0 conv=fdatasync
$ sudo sync
My SD card in Debian was mounted as /dev/mmcblk0. I guess the third line is not really needed, since dd is already syncing, but just in case.
Then, I just removed the SD card from my Debian box, inserted it in the Raspberry Pi, connected it to an spare Ethernet port in my home router, powered it, and it started to run! This was all with respect to installation. See below how I learned that it had booted correctly, and how I accessed it.
Finding and configuring FreedomBox
So I had my brand new FreedomBox up and running, but I still didn’t know it. Following instructions in the How to get Started section in the manual, I used mDNS to access the device. For that, I had to install mDNS in my Debian box, following instructions in the ZeroConf for Debian wiki:
$ apt-get install avahi-daemon avahi-discover libnss-mdns
Once this was done, I just browsed to http://freedombox.local/, and I got the FreedomBox welcome message in my browser.
Just to test it, I also used nmap to find out the IP address that my router had allocated for the device:
$ nmap -p 80 --open -sV 192.168.1.0/24
Starting Nmap 7.70 ( https://nmap.org ) at 2018-08-03 22:05 CEST
...
Nmap scan report for 192.168.1.75
Host is up (0.014s latency).

PORT   STATE SERVICE VERSION
80/tcp open  http    Apache httpd 2.4.33
Service Info: Host: 127.0.1.1

Service detection performed. Please report any incorrect results at https://nmap.org/submit/ .
Nmap done: 256 IP addresses (8 hosts up) scanned in 10.26 seconds
(some other web servers were found, of other devices in my network, but this is the relevant part).
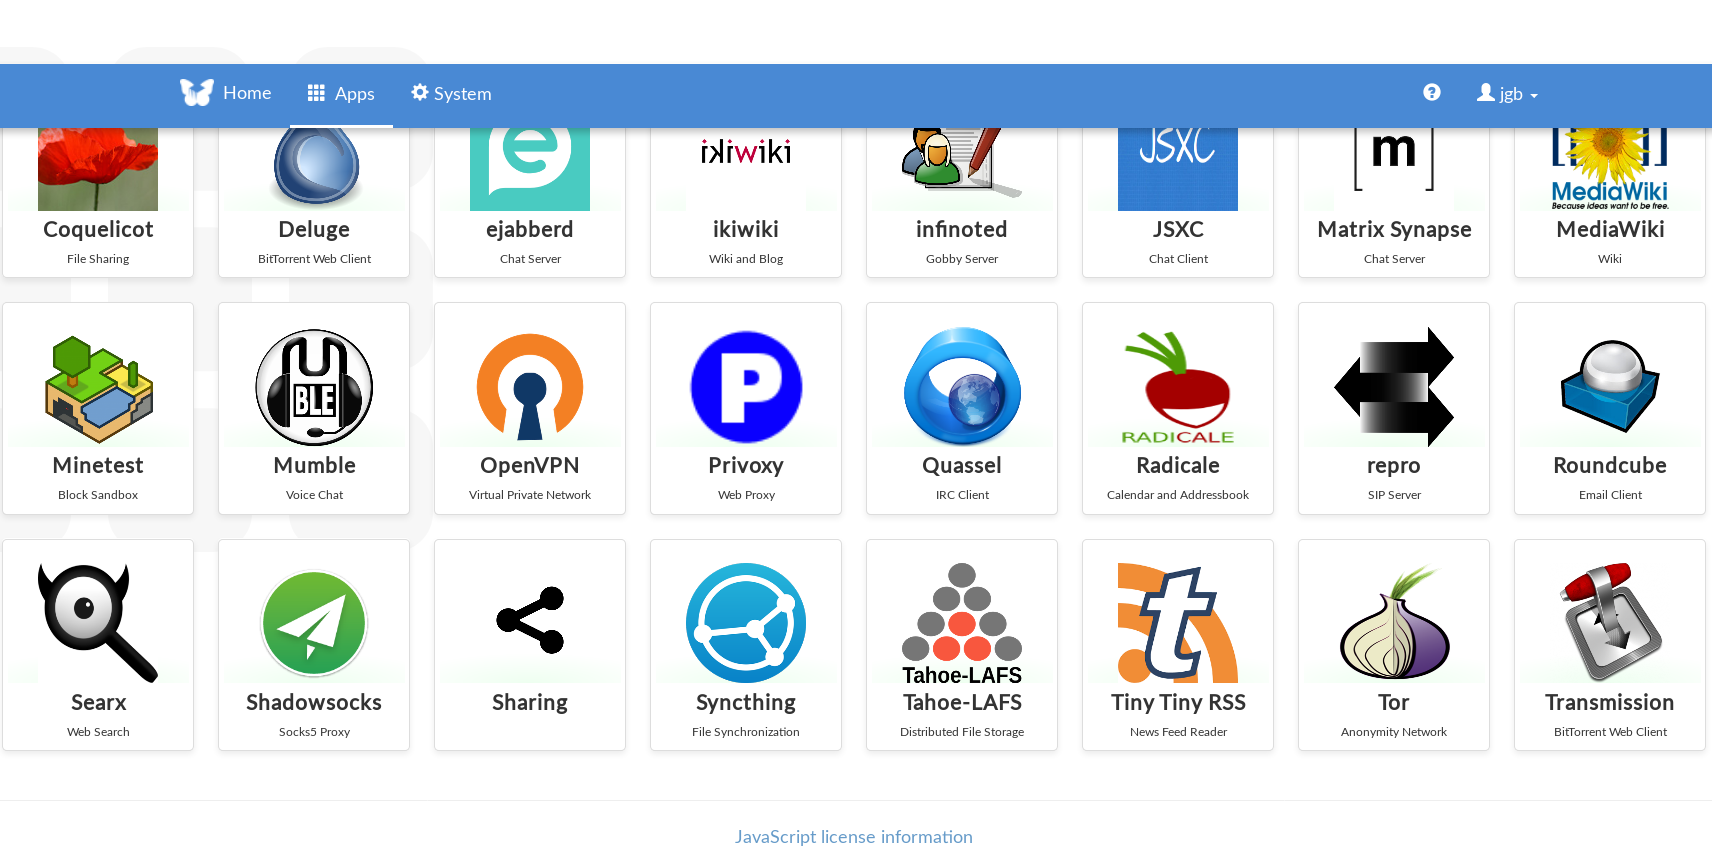
Now, the configuration is just following instructions in the browser. I need to provide a user and password, and that’s all. Pretty simple. Now I’m ready to install apps in my FreedomBox!
Adding firmware for brcm
When looking at dmsg, I see an error which seems to be related to the Broadcom 802.11 wireless card. Nothing that important, since I’m not using it, but just in case…
The error I saw was:
$ sudo dmesg
[   11.131774] usbcore: registered new interface driver brcmfmac
[   11.132290] brcmfmac mmc1:0001:1: firmware: failed to load brcm/brcmfmac43430-sdio.bin (-2)
[   11.132719] firmware_class: See https://wiki.debian.org/Firmware for information about missing firmware
[   11.133208] brcmfmac mmc1:0001:1: Direct firmware load for brcm/brcmfmac43430-sdio.bin failed with error -2
I fix it by installing the corresponding (non-free) package:
sudo apt-get install firmware-brcm80211
Reading package lists... Done
Building dependency tree
Reading state information... Done
The following NEW packages will be installed:
  firmware-brcm80211
0 upgraded, 1 newly installed, 0 to remove and 12 not upgraded.
Need to get 4,247 kB of archives.
After this operation, 15.5 MB of additional disk space will be used.
Get:1 http://deb.debian.org/debian testing/non-free armhf firmware-brcm80211 all 20180518-1 [4,247 kB]
Fetched 4,247 kB in 1s (8,326 kB/s)
Selecting previously unselected package firmware-brcm80211.
(Reading database ... 49490 files and directories currently installed.)
Preparing to unpack .../firmware-brcm80211_20180518-1_all.deb ...
Unpacking firmware-brcm80211 (20180518-1) ...
Setting up firmware-brcm80211 (20180518-1) ...
Problems with temperature
My Raspberry Pi was shutting down for apparently no reason from time to time. At first, it seemed to be linked to Syncthing doing its stuff, but after a while, I read in /var/log/syslog, and I found the reason:
Aug 4 18:56:07 freedombox kernel: [17713.777695] thermal thermal_zone0: critical temperature reached (81 C), shutting down
So, the problem is the CPU gets too hot. Maybe linked to Syncthing activity (it seems it uses the CPU pretty hard), but the real problem is thermal. So, I removed the top of the case, and tried with putting the device in a different, hopefully cooler, location. With 40 C outside, about 32 C at home, that’s not easy, though… Let’s see if that works.
I’ve also learned to monitor temperature:
$ cat /sys/class/thermal/thermal_zone*/temp
56920
Temperature is in millicelsius.
To test it over time (every 5 sec. in this case):
$ while sleep 5; do cat /sys/class/thermal/thermal_zone*/temp; done
Installing a USB SSD
I have a SSD with a USB connector. I’m going to install it to extend the storage available in my Raspberry Pi. The process is simple.
First of all, I connect the disk, to know its id:
$ sudo blkid
The relevant field is UUID. I used it for a new entry in /etc/fstab:
UUID="xxx-63a7d4414402" /media/data-jgbarah auto rw,user,auto 0 0
This is all you need…
Using rsync for backing up my laptop
I decided to use rsync for backing up my laptip in the Raspberry Pi with Freedom Box installed. This was easy…
In the Raspberry Pi, I copy my ssh public key to the /root directory
(well, in fact I copied all the .ssh directory), and installed rsync:
$ cd
$ sudo cp -r .ssh /root
$ sudo apt-get install rsync
Then, in the laptop I can run rsync as (for example):
$ rsync -va --one-file-system --info=progress2,stats2 --delete \
  /home root@freedombox.local:/media/backups
Installing a Samba server
For sharing data with Linux, Windows and other devices, I install and configure Samba. Most of the procedure I followed is described in How To Set Up a Samba Share For A Small Organization on Ubuntu 16.04.
$ sudo apt-get install samba
$ sudo systemctl stop nmbd.service
$ sudo systemctl disable nmbd.service
$ sudo mv /etc/samba/smb.conf /etc/samba/smb.conf.orig
$ sudo vi /etc/samba/smb.conf
To test the smb.conf file just created:
$ testparm
In the output, you should read “Loaded services file OK”.
Now, let’s create a directory to export:
$ sudo mkdir /media/data-jgbarah/samba/
$ sudo chown :sambashare /media/data-jgbarah/samba/
To create a directory for an existing user:
$ sudo mkdir /media/data-jgbarah/samba/jgb
$ sudo usermod -a -G sambashare jgb
$ sudo chown jgb:sambashare /media/data-jgbarah/samba/jgb/
$ sudo chmod 2770 /media/data-jgbarah/samba/jgb/
$ sudo smbpasswd -a jgb
$ sudo smbpasswd -e jgb
To create two directories for a new, non existing user, which is created too (one directory, common, read-only, and another one, backups, read-write):
$ sudo mkdir /media/data-jgbarah/samba/common
$ sudo adduser --home /media/data-jgbarah/samba/common --no-create-home \
  --shell /usr/sbin/nologin --ingroup sambashare common
$ sudo chown common:sambashare /media/data-jgbarah/samba/common/
$ sudo chmod 2770 /media/data-jgbarah/samba/common/
$ sudo smbpasswd -a common
$ sudo smbpasswd -e common
$ sudo mkdir /media/data-jgbarah/samba/backups
$ sudo chown common:sambashare /media/data-jgbarah/samba/backups/
$ sudo chmod 2770 /media/data-jgbarah/samba/backups/
Now, create a group for administering Samba:
$ sudo groupadd sambadm
$ sudo usermod -G sambadm jgb
And finally, run the Samba server, and open the corresponding service in the firewall
$ sudo systemctl start smbd.service
$ sudo firewall-cmd --permanent --zone=internal --add-service=samba
$ sudo firewall-cmd --zone=internal --add-service=samba
The complete smb.conf file will look like:
[global]
        server string = samba.freebox.local
        server role = standalone server
        interfaces = lo enxb827eb1609dc
        bind interfaces only = yes
        disable netbios = yes
        smb ports = 445
        log file = /var/log/samba/smb.log
        max log size = 10000

[jgb]
        path = /media/data-jgbarah/samba/jgb
        browseable = no
        read only = no
        force create mode = 0660
        force directory mode = 2770
        valid users = jgb @sambadm

[common]
        path = /media/data-jgbarah/samba/common
        browseable = yes
        read only = yes
        force create mode = 0660
        force directory mode = 2770
        valid users = common @sambadm

[backups]
        path = /media/data-jgbarah/samba/backups
        browseable = yes
        read only = no
        force create mode = 0660
        force directory mode = 2770
        valid users = common @sambadm
Mounting Samba directories in my Debian box
For testing the Samba volumes exported by the Freedom Box, I followed the following procedure.
First, I added some lines to /etc/fstab:
# Freedombox Samba shares
//freedombox.local/jgb /media/samba/jgb cifs vers=2.0,credentials=/home/jgb/.smbcredentials/jgb,iocharset=utf8,gid=1000,uid=1000,file_mode=0777,dir_mode=0777,noauto,user 0 0
//freedombox.local/common /media/samba/common cifs vers=2.0,credentials=/home/jgb/.smbcredentials/common,iocharset=utf8,gid=1000,uid=1000,file_mode=0777,dir_mode=0777,noauto,user 0 0
//freedombox.local/backups /media/samba/backups cifs vers=2.0,credentials=/home/jgb/.smbcredentials/common,iocharset=utf8,gid=1000,uid=1000,file_mode=0777,dir_mode=0777,noauto,user 0 0
In the lines above, gid=1000 and uid=1000 should correspond to the gid and id
of the user who mounts the partition (so that permissions apply).
You can know which ones your user has by running id in a shell.
The files /home/jgb/.smbcredentials/jgb and /home/jgb/.smbcredentials/common
are credential files for jgb and common Samba users.
Both files should be readable for the user mounting the partition,
and for nobody else. The format of both files is like this:
username=common
password=XXXXX
Then, I installed the cifs-utils package,
and created the directories to mount:
$ sudo apt-get install cifs-utils -y
$ sudo mkdir /media/samba
$ sudo mkdir /media/samba/jgb
$ sudo mkdir /media/samba/common
$ sudo mkdir /media/samba/backups
Now, I can mount any of this directories just by, for example:
$ mount /media/samba/jgb
I can also mount files from the GNOME Files application, in the “Other locations” menu option.
Letting Samba serve my Syncthing files
I’m backing up some of my devices (phones, etc.) via Syncthing to my Freedom Box. I wanted to browse the backed up files easily from all my devices, and I decided to give Sama a try for that. It proved very easy to configure.
First, I added the user syncthing to the group sambashare, so that Syncthing can write to directories owner by group sambashare:
$ sudo usermod -a -G sambashare syncthing
After that, I rebooted my Freedom Box, just to make sure Syncthing was running under this secondary group (I’m not sure this is really needed, but just in case…).
Then, I created a directory to share in my device.
When prompted in the Freedom Box web interface for Syncthing
to allow that directory to be shared,
I changed the directory that it was offering by default to
one under my user directory exported by Samba
(jgb, see configuration above):
`/media/data-jgbarah/samba/jgb/camera-mobile’
And that’s all, Syncthing just did the rest. I a little while, I had a copy of my files in the Freedom Box, and could browse it from my other devices, including my Debian laptop, just by mounting the corresponding Samba share.