aframe-playground
A playground for learning about A-frame
Improving webpack configuration
Now, I’m going to work in figures-03,
improving the webpack and npm configuration to automate some tasks,
and to make life more comfortable
(isn’t that what we all want?).
Automating the build process
First, let’s automate webpack building the code everyting some source
file changes.
For that, I just need to run webpack with a new option:
--watch, for rebuilding when there are changes.
I’m going to include this in the npm configuration, package.json:
  ...
  "scripts": {
    "dev": "webpack --mode development",
    "build": "webpack --mode production",
    "watch": "webpack --mode development --watch"
    },
  ...
Now, when I run npm run build, it builds the thing,
ready for production. When I run npm run dev, it builds
all, for development (non-minimized files, etc).
When I run npm run watch, it builds every time there is a new version
of a source file (for development, in this case).
I no longer need to run webpack every time I have new source files!
Important note:
This does not apply to changes in the webpack configuration,
so every time I change webpack.config.js
I need to run node run watch again.
Using webpack’s web server
I also want to have webpack provide its own web server, just in case I don’t want to run one-line Python server. For that, we have the webpack-dev-server package. I first install it:
$ npm install --save-dev webpack-dev-server
And include a new script for npm, in package.json:
  "scripts": {
    ...
    "start": "webpack serve --mode development --content-base dist/"
Now, when running ‘npm run start’, I can point my browser to http://localhost:8080/figures.html and see my application.
This module will also watch source files, and recompile then when needed.
It also allows for serving via HTTPS, which in many cases is a need
(for example, when using many WebXR features). For that, you need to
set the https devServer property to true:
  devServer: {
    https: true,
  },
Using babel for transpiling es6 to es5
Next, I’m interested in writing es6 (ECMA Script v6, or ES2015) programs,
so I will be using babel as a transpiler to es5.
For that, I will use a webpack loader.
Loaders are scripts that know how to “load”, or “prepare”,
some kinds of files.
In this base, the babel loader will prepare .js files.
First, I need to install the loader, with npm:
npm install --save-dev @babel/core @babel/preset-env
npm install --save-dev babel-loader
And add a configuration for the default module in webpack:
  module: {
    rules: [
      {
        test: /\.js$/,
        include: [path.resolve(__dirname, 'src')],
        loader: 'babel-loader',
          options: {
            presets: ['@babel/preset-env']
        }
      }
    ],
  }
I add the include property to be sure that only files in the src
directory are tested.
For example, I don’t want those in node_modules to be tested…
(and include rules seem better than exclude ones).
Adding support for colored messages
This is a simple configuration option that will cause messages
in webpack output to get colored
(as a property of module.exports):
  stats: {
    colors: true
  },
Generate a sourcemap for debugging
If you want to use a debugger on the code,
you need a sourcemap.
You can easily get this adding to the webpack configuration
(as a property of module.exports):
devtool: 'source-map'
I prefer HTML driver page in src
Up to now, dist/images.html is the driver (launcher) HTML page
which includes all JavaScript, images, etc.
I want to have it in src, instead of dist,
since it looks more like a source file for the project.
For that, I’m going to use it as a template for the HTML that
acts as the driver…
Although in my case, the template is going to be
almost equal to the HTML file I want.
The only thing I need to change from the previous
dist/images.html is removing, in the head,
the reference to the bundle.js script,
which will be included in the ‘template’.
For managing this file as a template with webpack,
I will use a webpack plugin: html-webpack-plugin
(if you want,
check documentation about it).
I install it as usual:
$ npm install html-webpack-plugin --save-dev
And then, I need some changes to webpack.config.js:
...
const HtmlWebpackPlugin = require('html-webpack-plugin');

...
  plugins: [new HtmlWebpackPlugin({
    template: './src/figures.html',
    inject: 'head',
    scriptLoading: 'blocking',
    filename: 'index.html'
  })]
The first line will requite the plugin, and the last lines,
to be included as a property of module.exports,
will actually launch the plugin.
It will generate an HTML file in the dist directory
(because that’s our output directory),
using the name index.html
(because of the property filename),
using our src/figures.html file as template,
and injecting the needed JavaScript code
(bundle.js) in the head element.
The scriptLoading: 'blocking' option will avoid that
the generted script element includes defer, which
would prevent A-Frame from being loaded before the DOM is
ready
(see the plugin documentation).
Now, if I just run for example npm run start
my browser will be pointed to the new index.html
(since that’s the default launching it on the directory url).
Copy images from src
I also want images to be in src.
For that, I will be using the combination of two loaders:
html-loader (check documentation about it),
and file-loader
(check documentation about it).
The first one will be used to generate require statements for each
img element found in the HTML files parsed
(I will parse figures.html),
and the second one for loading the files corresponding to those required
images to the dist directory.
As a byproduct, the HTML file will be minimized.
To install, as usual:
npm install html-loader --save-dev
npm install file-loader --save-dev
And some additions to webpack.config.js, in the rules list of the
module propierty, of the module.exports variable:
  {
    test: /\.html$/,
    include: [path.resolve(__dirname, 'src')],
    loader: "html-loader"
  },
  {
    test: /\.(jpg|png|svg)$/,
    include: [path.resolve(__dirname, 'src')],
    loader: 'file-loader',
    options: {
      name: '[name].[ext]'
    }
  },
Both go in the list of loaders.
The first one will produce the list of images,
and the second one, for each of them,
will copy the corresponding file to the dist directory.
As a result, now after running for example npm run build
I get .jpg files with their own names, thanks to the options entry.
If I don’t use it,
I will get as names the file hash and the corresponding extension.
This is useful to avoid issues with caches,
but for now I prefer not to use it,
for clarity in the dist directory.
The index.html file is now minified
(courtesy of html-loader).
Copy font files from src
In my example I’m using Roboto fonts.
I want to have everything needed for running the application local,
available from the dist directory.
So I want a copy of those two files
(Roboto-msdf.json and Roboto-msdf.png) in the dist directory.
I’m not completely happy with the way I did it,
since I preferred something more automatic.
But well, for sake of simplicity,
and not spending more time exploring other options,
I decided to just require the files in the main JavaScript entry point,
figures.js, and then let webpack copy them to dist.
For that, I added the following lines to figures.js:
// Require font files to have them included in dist
const roboto_json = require ("./Roboto-msdf.json");
const roboto_png = require ("./Roboto-msdf.png");
I didn’t need a new entry in rules for the PNG file, because it was
already covered in the rule for images, above. For the JSON file, since they are handled directly by webpack.
Adding a cleaning script
In many cases, it is convenient to build from scratch.
Given the structure of compilation that I’m using,
you only need to be sure that dist directory is empty before building.
For that, I’ve added a couple of new scripts in package.json:
  "scripts": {
    ...
    "clean": "rm -r dist/*",
    "cleanbuild": "rm -r dist/* && webpack --mode production",
    ...
  },
Now, I can just run npm run clean when I want a clean dist directory,
or npm run cleanbuild when I want a built from scratch.
Generating dist files and running everything
With all this goodies, now you can use the stuff in webpack/figures-03
to produce all the files (bundle.js and bundle.js.map)
needed to run the application.
The complete process (starting from the contents in the directory) is:
$ cd webpack/figures-03
$ npm install
$ npm run start
This will build everything, and launch the predefined browser
pointing to the dist directory,
exported by the webpack web server.
If you change source code,
webpack will recompile and the new version will be pushed to the browser.
If you only want to build the stuff, and rebuild every time there are changes (for example, because you’re launching your own web server), just run instead of the last line:
$ npm run watch
For building the production version, instead of the last line, run:
$ npm run build
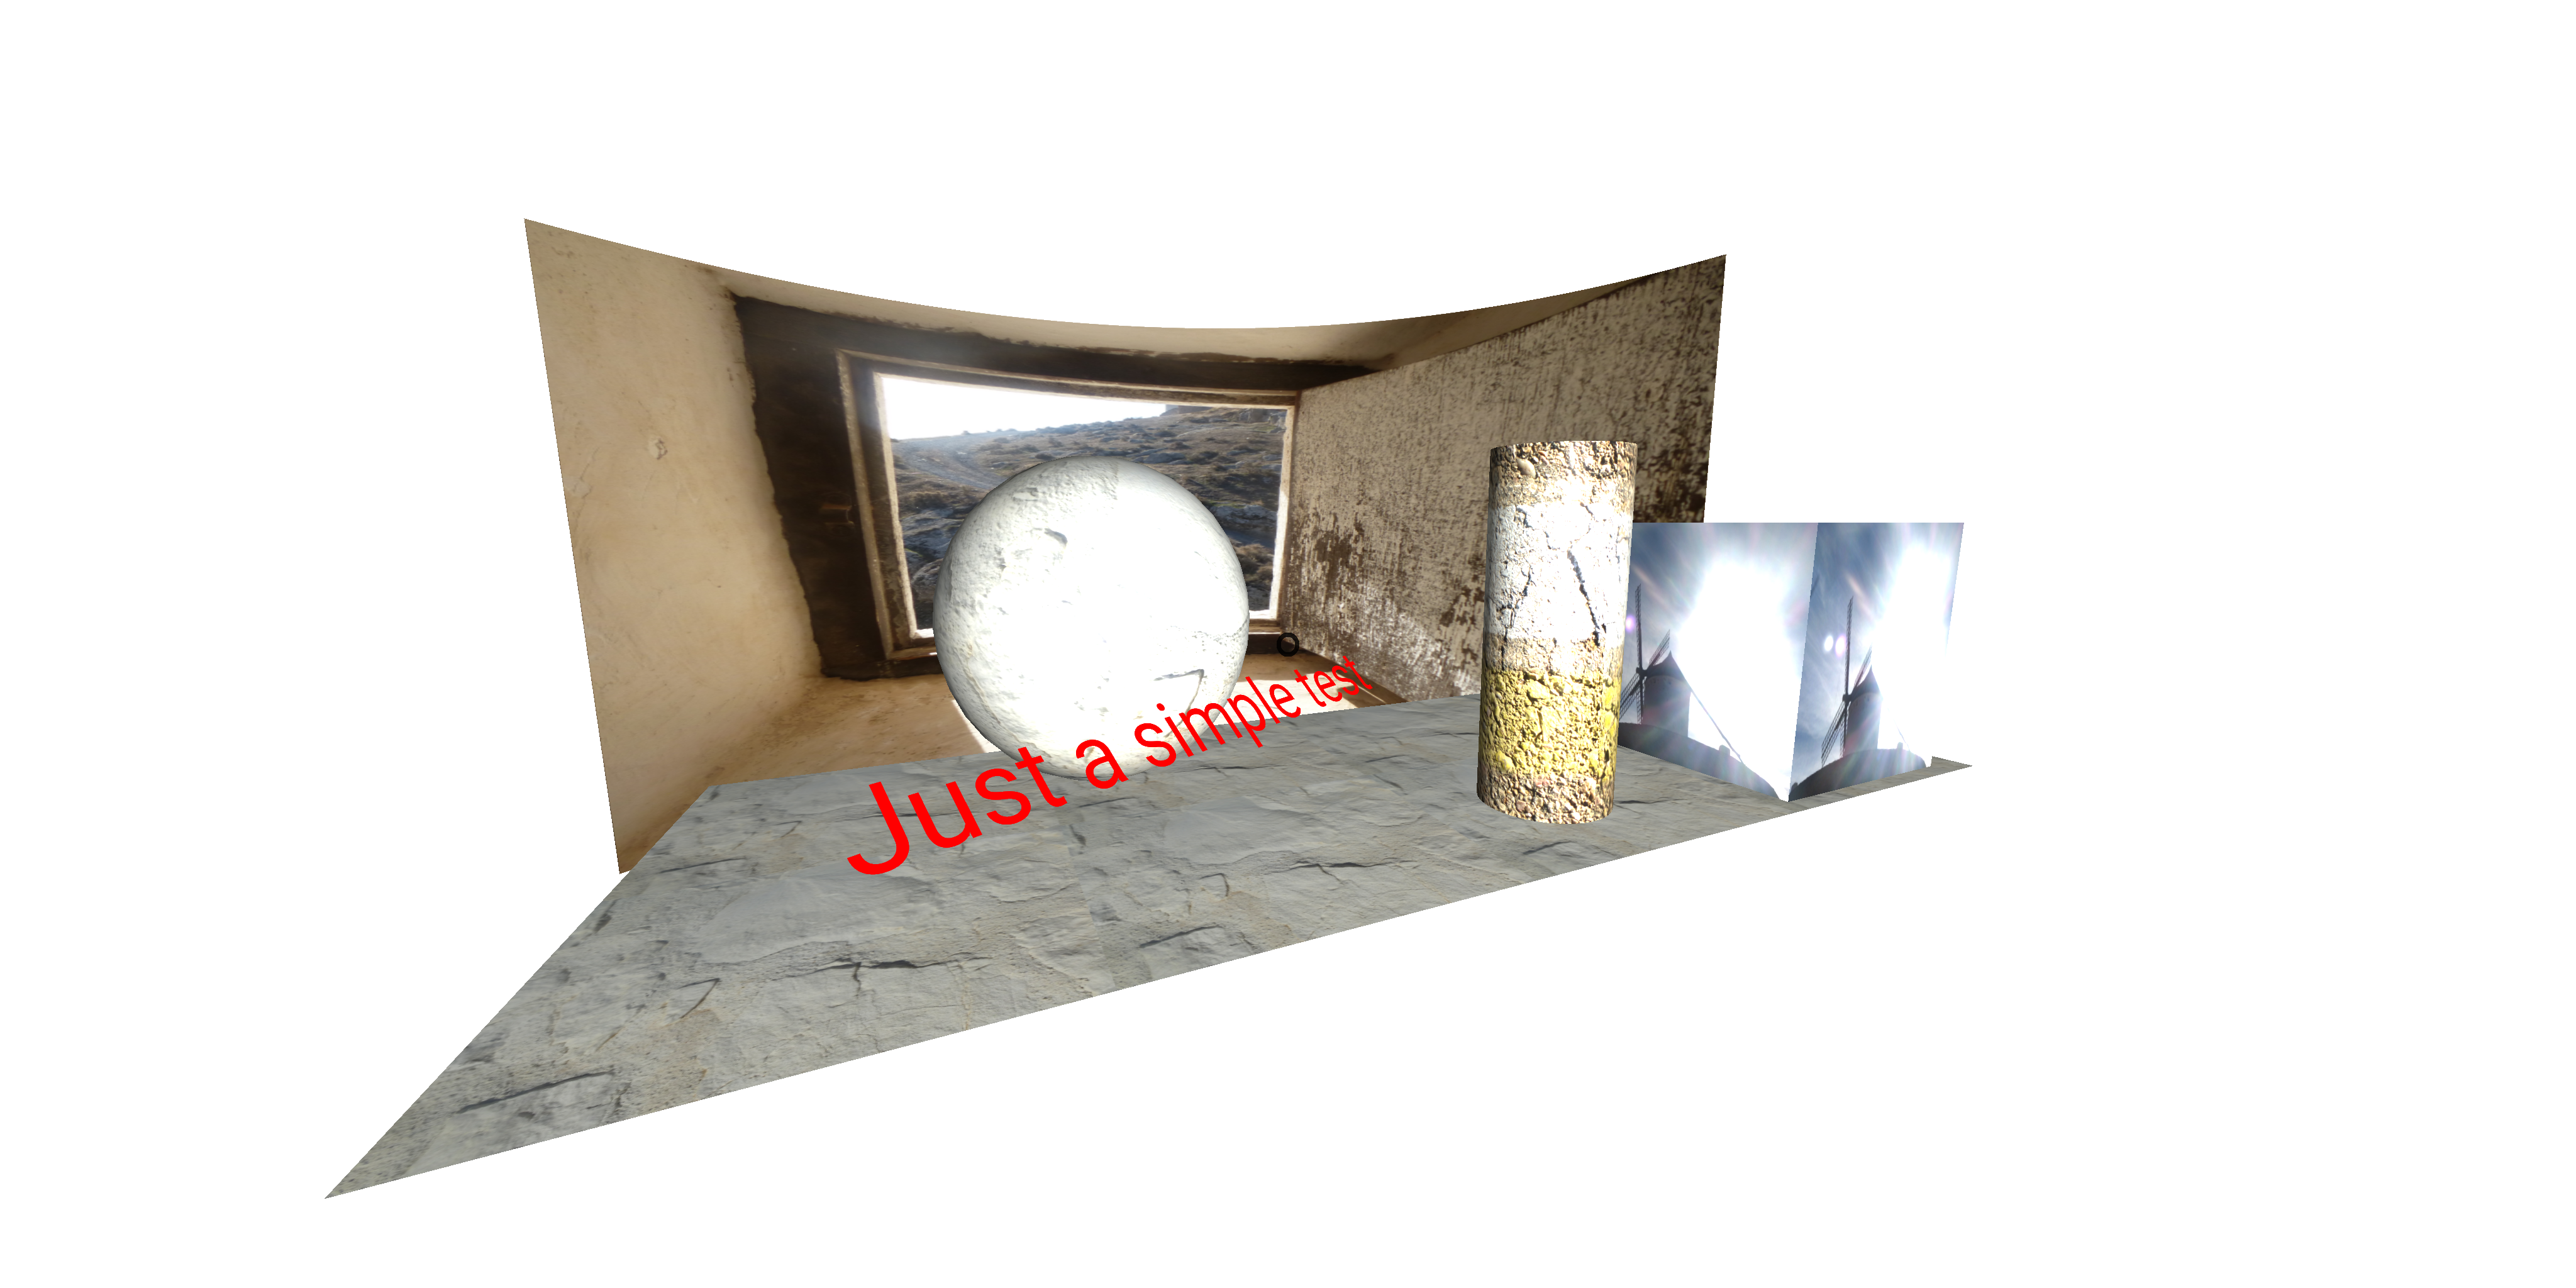
Results
See an screenshot of the resulting scene below. You can also check the virtual reality scene directly.