aframe-playground
A playground for learning about A-frame
First steps in creating an A-frame scene
I will start by using the first example in the
A-frame Introduction,
the Hello, WebVR example.
I’ve done some minor modifications both for convenience
(I want to export all the assets,
so that the example works even if I’m not connected),
and joy (some images used, for example).
All the files referenced here are in the figures-01 directory
in this repository.
First version of the first steps
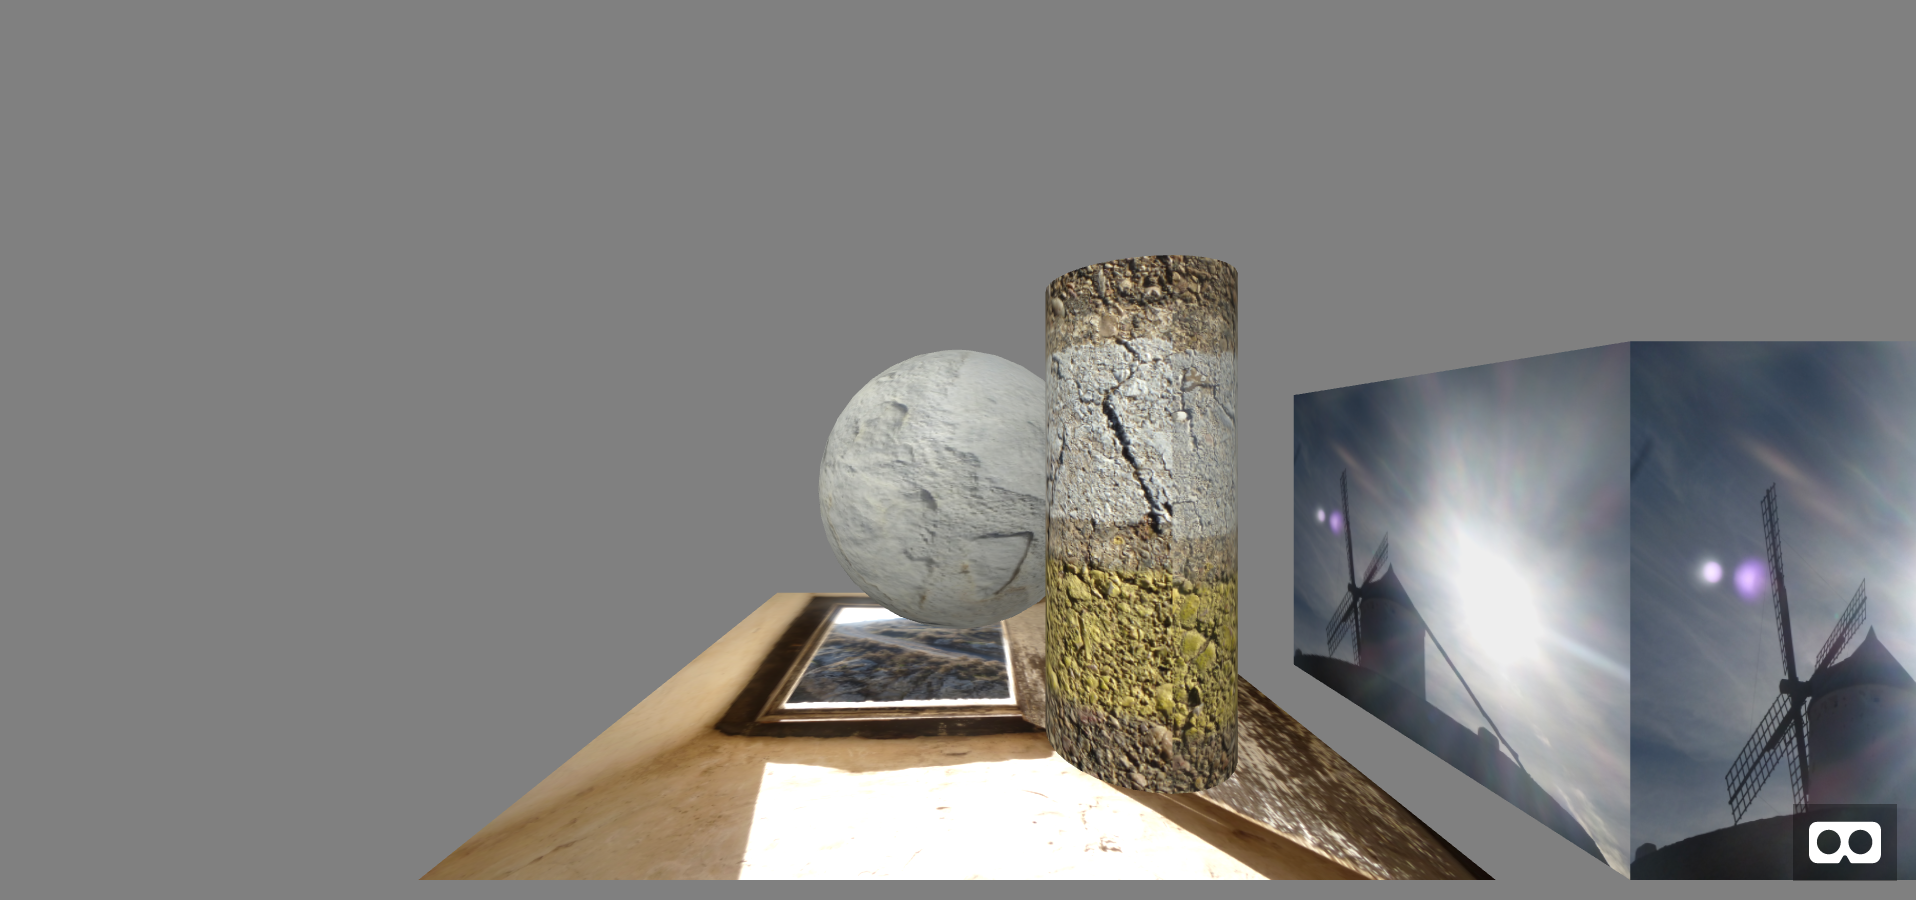
My first version of that example is first.html, where I create a scene with a box, a sphere and a cylinder, on top of a plane, with a grey sky as background. In use some pictures for the box, sphere, cylinder, and plane, which gives the scene a bit more of interest.
For running this first version, you’ll need to have the following structure of directories and files:
assets
|-js
  |- aframe.min.js
|- imgs
  |- bands.jpg
  |- molinos-bw.jpg
  |- window.jpg
  |- soil.jpg
figures-01
|- first.html
To see our scene in the browser, the A-frame documentation recommends serving these files via a web server. See Setting up the environment for details, but if you have Python 3 installed, you can easily serve the file via a web server running, in the root of the hierarchy above (which is the root of this git repository, too):
$ python3 -m http.server
You can also use web services such as Glitch or JSFiddle. Finally, you can also directly check the scene in your browser, as the files are served by GitHub.io web server.
If you watch the scene in a desktop browser, you can use arrow keys or WASD keys and the mouse (click and drag), to move the camera around. You can also check it with VR, for example with a mobile phone in a Google cardboard device with Oculus Go or with Oculus Quest. In VR devices where you can move around, you can just move around in the scene.
In any case, you will see something similar to:
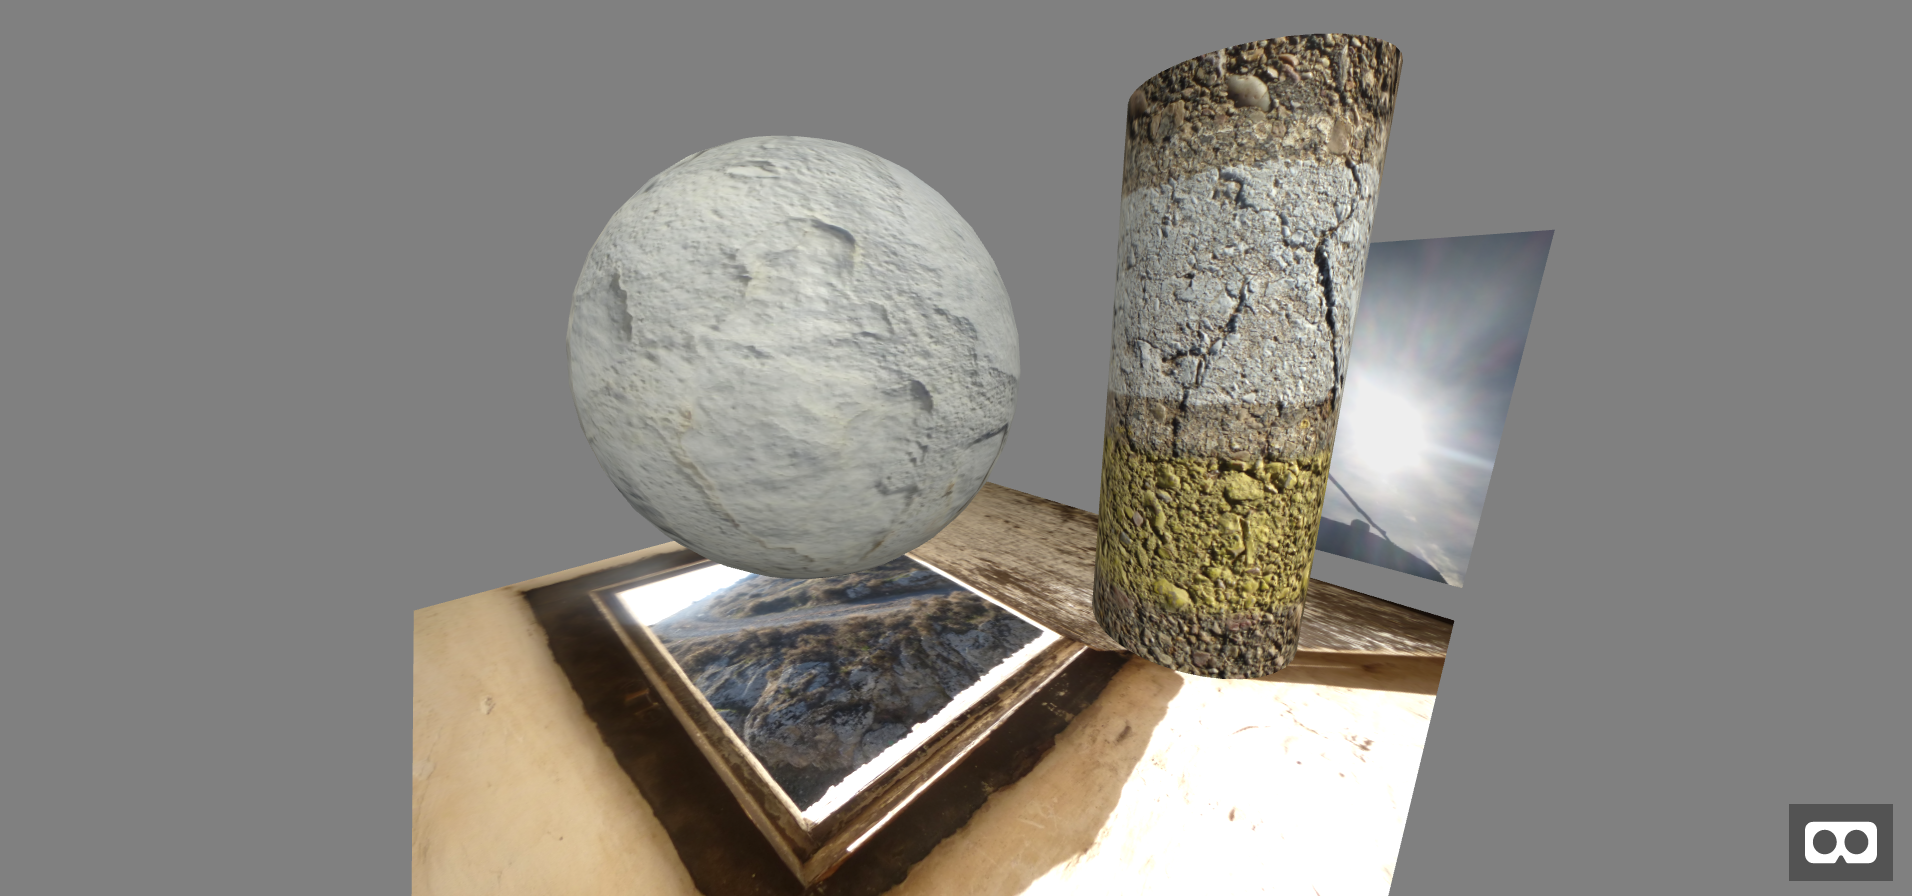
After moving around, you may see something like:
Notice that I have grouped in the assets directory
the files that we will be using in several examples
(the A-Frame library, images, etc.)
In particular,
assets/js/aframe.min.js is just a copy of the minified A-frame library,
in my case the CDN version
aframe.min.js version 1.4.0.
HTML files that I will use in the examples will usually include
a line to use assets/js/aframe.min.js, and another one,
commented out, to use the above CDN version of it (for convenience).
You can check other ways of installing A-frame in the A-frame installation instructions. Later on I will show how to use npm and webpack for installing A-frame in a more convenient way. For now, having the file in the repository will be convenient.
The details of what is in the first.html file,
which includes all the magic needed to create the scene,
are described in the
Hello, WebVR example.
Second version, adding assets
This version, second.html is quite similar to the first one, but includes some new gadgets. It follows some of the aspects introduced in the guide Building a Basic Scene.
The sphere now has a 360 image projected on it. The box is animated, by adding a component specifying the animation. And there are a couple lights, and a colored background.
A more subtle, but important change, is that now it uses assets.
the assets element allow for the download of the different assets
(in this case, images) without interfering with the main scene
which uses them.
Check the actual scene in your browser.
Third version, adding text
This version, third.html adds some text, exploring the concepts shown in the documentation for the text component.
For keeping the application self-contained,
I donwloaded the font files,
Roboto-msdf.json and Roboto-msdf.jpng
from https://cdn.aframe.io/fonts/
to the same directory where the application is,
to the assets/fonts directory.
I also added a camera, to decide from where I want to look at the scene.
For positioning the camera, I need a wrapper a-entity object,
to avoid camera controls overriding position and rotation:
<a-entity position="-3 2 1" rotation="0 -25 0">
  <a-camera></a-camera>
</a-entity>
This will locate the camera 3 units to the left, 2 up, and 1 closer to the origin, pointing slightly (25 degrees) to the right.
Check the actual scene in your browser.
Fourth version, adding behavior
This version, fourth.html adds some JavaScript to have the sphere behave in a certain way when you look at it. To do that, I first added a cursor element to the camera, so that the cursor points to where the camera points.
Then, it is just a matter of addint the script element at
the end of the HTML code,
to set event listeners for mouseenter and mouseleave
events in the sphere.
As you can see, this is quite similar to capturing any events
in a regular DOM element.
The only trick is that the cursor that I added to the camera
behaves as a mouse,
and then triggers those mouseenter and mouseleave events.
See more details about this in
Adding Interaction, in the Building a Basic Scene guide.
In addition, I try writing text in a plane, which can be a nice way of providing banners. See more about this in the Sizing section of the documentation of the text component.
Check the actual scene in your browser.
Fourth version, for augmented reality
In a mobile device, or a real AR device, this scene can be presented within the real world. For that, we need to remove the background, and little else: just launch in the browser in your mobile phone, and click on the AR icon.
Check the scene, prepared for AR, in your mobile browser.
Fourth version with mouse as pointer
Instead of using the gaze as pointer, we can also use the mouse.
For that, we only need to add the proper property (rayOrigin) to the coursor:
      <a-entity position="-3 1 1" rotation="0 -25 0">
        <a-camera cursor="rayOrigin:mouse">
        </a-camera>
      </a-entity>
Check the scene in your browser.
Fourth version ready for VR devices
For properly working in VR devices, we want to add movement controls
(the movement-controls component,
from A-Frame Extras),
look controls, and laser controls (using the corresponding A-Frame
components):
      <a-entity movement-controls="fly: true" position="-3 1 1" rotation="0 -25 0">
        <a-entity camera position="0 1.6 0" look-controls></a-entity>
        <a-entity cursor="rayOrigin:mouse"></a-entity>
        <a-entity laser-controls="hand: right"></a-entity>
      </a-entity>
Note: For A-Frame Extras to work, you need a line specifying the corresponding script, in the head of the HTML document, after the A-Frame script is added.
Check the scene in your VR device.
Fifth version, playing with entities
In this version,
fifth.html,
I wanted to play with entities.
I liked the a-curvedimage primitive,
and I checked how I could produce it with an entity.
I discovered that the equivalence between primitives and
entities is not complete,
and that there is nothing like a curvedimage primitive geometry.
In fact, curvedimage is built based on cylinder.
So, I built the equivalent to a curved image in three
different ways:
with a a-curvedimage primitive,
with a cylinder primitive,
and with an entity, using cylinder as the primitive geometry.
You can learn more about entities in ECS in A-frame, which explains its relationship with components and systems, in the documentation for Entity, and in the documentation for Component. The documentation for Material and for Geometry were also useful.
I also included some fog, which is a component of a-scene.
The linear model worked well when I selected the appropriate
far and near properties.
When using fog, I can omit the a-sky element,
since the “sky” will be just an accumulation of fog.
More information in the
fog Component documentation.
Finally, I included a stats user interface,
by declaring the appropriate stats component as a property of
a-scene.
More information on that in the
stats Component documentation.
Check the actual scene in your browser.
Note on the size of images
A-Frame (or Three.js, or WebGL, I’m not sure) seem to be happier with images with
dimensions that are multiple of 2. Therefore, I use mogrify, in the Debian
imagemagick package, for resizing them to 1024x1024. For example:
$ mogrify -resize 1024x1024! bands.jpg